OUR BLOGS

Water stains on wood can look unsightly and spoil the finish of furniture but fortunately those water rings don't have to stay there forever. Water stains show up as light coloured rings or clouds and can be lightened and removed easily with some natural materials. Discover how to remove water stains from wood without paying for expensive wood cleaners with our top tips below. At MMCS Commercial we have over two decades of experience in providing cleaning services across the North East. From one-off deep cleans in Newcastle to regular holiday let cleaning in Northumberland , our trained staff have got you covered. We work flexibly around your schedule to make your property clean, safe and welcoming. Get in touch to book your clean today How to remove water stains from wood How to remove water stains from wood with an iron You can remove newer water stains from wood with the help of an iron, but this method may not be as effective for stains that have present for more than a few days. Start by wiping the wood with a soft dry cloth to remove any dirt. Lay a soft t-shirt over the water stain and gently iron in circular motions for at least thirty seconds. The heat from the iron will help the moisture from the water spot to evaporate. Repeat the process until the stain has been fully lifted. How to remove water stains from wood with baking soda Baking soda is a natural, cheap and effective way to remove moisture that is trapped in water stains on wood. Mix a tablespoon of baking soda with water until a paste is formed. Apply the paste to the water stain with a soft cloth and rub for a few minutes. Always follow the grain of the wood and avoid applying the paste to areas around the stain. Leave the paste to work for five minutes and remove using a dry cloth. Apply a little oil or furniture wax to re-seal the affected area. How to remove water stains from wood with vinegar Mix equal parts of white vinegar and olive oil into a bowl and apply the mixture to the stain using a dry cloth. The vinegar will work to lighten the stain while the olive oil will help to restore shine in the wood. Wipe in the direction of the wood grain until the stain has been removed. Finish by wiping the mixture away with a clean cloth. While this guide focused on how to remove water stains from wood, you can find a range of more environmentally-friendly cleaning tips and guides on our blog .

Blood stains can happen anywhere and at any time and the stains can be difficult to shift if left untreated for a long period of time. Fortunately, there are a range of cheap ways to tackle even the toughest blood stains. Discover how to remove blood stains naturally with our simple and effective methods below. At MMCS Cleaning Service, we have over two decades of experience in cleaning properties across the North East. Our trained staff use environmentally-friendly cleaning materials to make your property sparkle around your schedule. From one-off deep cleans in Newcastle to a regular holiday let changeover service in Northumberland , get in touch to book your service today. How to remove blood stains Top tip: always check the manufacturing label for guidance and avoid using warm or hot water as this can set the stain. How to remove fresh blood stains Acting fast when treating blood stains will make the stain easier to remove. Rinse the stain in cold water immediately to try and remove blood from the fibres. If treating a lighter material, use distilled white vinegar to life the stain. Spray the affected area with the vinegar and leave to soak for at least 15 minutes. Use a soft cloth to blot the vinegar away and place the item in the washing machine on a cold cycle. For darker materials, mix a few tablespoons of water with baking soda until a paste is created. Place the paste on the affected area and leave for at least 20 minutes. Scrub the paste mixture away using a soft brush (such as an old toothbrush) and wash on a cool cycle. How to remove dried blood stains Dried blood stains can be tougher to remove and may require more patience and elbow grease. Start by removing any solid deposits by scraping them away with a blunt knife. Soak the item in a bowl of cold water, laundry detergent and a few tablespoons of salt for at least one hour. Salt is an effective way to break down blood stains without using any harmful chemicals. Then, remove excess water from the fabric and apply more detergent to the affected area. Place the item in the washing machine on a cool cycle. If the stain is still visible, repeat the process above and create a thick paste using cornstarch and water. Apply the paste on the blood stain and leave to dry before scrubbing away with a soft brush. While this article focused on how to remove blood stains, you can find more environmentally-friendly cleaning guides on our blog.

Sleep is one of the most important aspects of our health and one of the biggest factors to getting a good night's sleep is the comfort of a mattress. But how often should you replace your mattress? We've put together some key indicators that show that it's time to replace your bedding. Read our top tips for when it's time to replace a mattress below. At MMCS we have over two decades of experience in cleaning properties across the North East. Our trained staff use environmentally-friendly cleaning materials to make your property sparkle around your schedule. From one-off deep cleans to a regular holiday let changeover service in Northumberland, get in touch to book your service today. Understanding when to replace a mattress Noise Your mattress shouldn't make any loud noises, even if you toss and turn regularly in your sleep. If you start hearing loud sounds such as grinding metal or springs then it could mean that your mattress is not supporting you as well as it could be. As well as keeping you awake throughout the night, the moving springs can create an uneven surface which can later cause body aches and pains. If you notice that your mattress is making noises, it's often a sign that it needs to be replaced. Allergies Dust mites are a common household allergy. The build up of dust can cause allergic reactions such as sneezing, a dry mouth and throat and a runny nose. While regular vacuuming and deep cleaning of the mattress can help to ease this , older mattresses tend to store more dust and could be the root issue for allergy symptoms. If you don't notice any improvement after deep cleaning and vacuuming your mattress, it could be a sign that it needs to be replaced. Aches and pains If you find yourself regularly waking up in pain or stiffness in areas such as your hip, neck, back and shoulders then it could be a sign that your mattress is no longer supporting you. Over time, older mattresses tend to drop and sag in places which reduces support that can impact the alignment of your spine while you sleep. This article focused on understanding when to replace a mattress but you can find a range of environmentally-friendly cleaning guides on our blog.

Glass hobs are common in many modern homes and come with the benefits of not having to clean burner grates found on typical gas stoves. However, even the slightest spill can leave a noticeable splatter. Abrasive sponges can cause scratches and lasting damage to your hob but before reaching for an expensive shop-bought hob cleaner, discover how to clean a glass hob with household materials below. We are a cleaning company in the north east with over two decades of experience in property cleaning. From one-off deep cleans to regular office cleans , our trained team have got you covered. We use environmentally-friendly cleaning products to make your property sparkle around your schedule. Get in touch to book your cleaning service today. How to Clean a Glass Hob Top tip: always turn the glass hob off and leave to cool before cooking. Routine glass hob cleaning can be carried out with a soft microfiber cloth and natural white vinegar. The vinegar works to effectively remove odours and leave a sparkling finish. For a more thorough clean and to remove tough stains you'll need baking soda, white vinegar, a clean towel, a container filled with hot water and soft cloths. For any dry food residue stains, use a single edge razor blade to scape the mess off the surface a 45-degree angle. Spray the glass hob surface generously with vinegar, focusing on any food stains and splatters. Sprinkle baking soda over the vinegar to create a fizzing reaction. Place the towel into the hot water and wring our before placing on top of the fizzing baking soda and vinegar solution. Leave to soak for at least 15 minutes. Wipe away the baking soda solution with a soft cloth before spraying vinegar again and buffing away any streaks. The vinegar smell dissipates quickly but you can also open windows to air the smell out quicker. Repeat the process as necessary until all marks have been removed from the glass stove. While this blog focused on how to clean a glass hob, you can browse more environmentally-friendly cleaning tips on our blog.

Toasters are staple appliances in most homes, offices and holiday properties but despite using them regularly, many of us don't clean them enough. Over time, this can make toasters less effective and create unpleasant burning smells that linger in the room. We've put together some simple tips on how to clean a toaster without using any harsh chemicals. Discover how to clean a toaster and add it to your regular cleaning schedule with our top tips below. At MMCS Commercial we have over two decades of experience in providing cleaning services across the North East. From one-off deep cleans in Newcastle to regular holiday let cleaning in Northumberland , our trained staff have got you covered. We work flexibly around your schedule to make your property clean, safe and welcoming. Get in touch to book your clean today. How to clean a toaster Top tip: Always unplug your toaster and allow it to fully cool before cleaning. Prep your work area Cleaning your toaster can be a messy task, particularly if the breadcrumbs haven't been cleared out in a while. To prevent the crumbs from spreading across your kitchen, we recommend working over the top of your kitchen sink or covering a kitchen table top with newspapers to catch any crumbs. Remove crumbs Most modern toasters have a removable tray at the bottom to catch any loose crumbs. Pull out this tray and pour loose crumbs into the bin. Wash the tray with warm soapy water to remove the build up of any food residue and dry using a towel. Make sure that the tray is fully dry before inserting it back into the toaster to prevent any mould growth. Turn the toaster upside down (over your sink or newspaper covered area) and shake to remove additional crumbs from inside. Repeat this process until no crumbs fall out. Clean the exterior Dip a soft cloth (such as a microfibre cloth) into warm soapy water and wipe down the toaster. Wrap a knife inside the cloth to reach deep cracks and remove the build-up of any hidden grime. If you have a stainless steel toaster, spray a little white vinegar onto a soft cloth and buff in small circular motions to gently polish the metal. Wipe away any excess soapy water or vinegar and dry with a soft cloth. Make sure that the toaster is fully dry before using. Top tip: Empty the toaster tray once a week to keep on top of the build-up of crumbs While this guide focused on how to clean a toaster, you can find a range of more environmentally-friendly cleaning tips and guides on our blog .
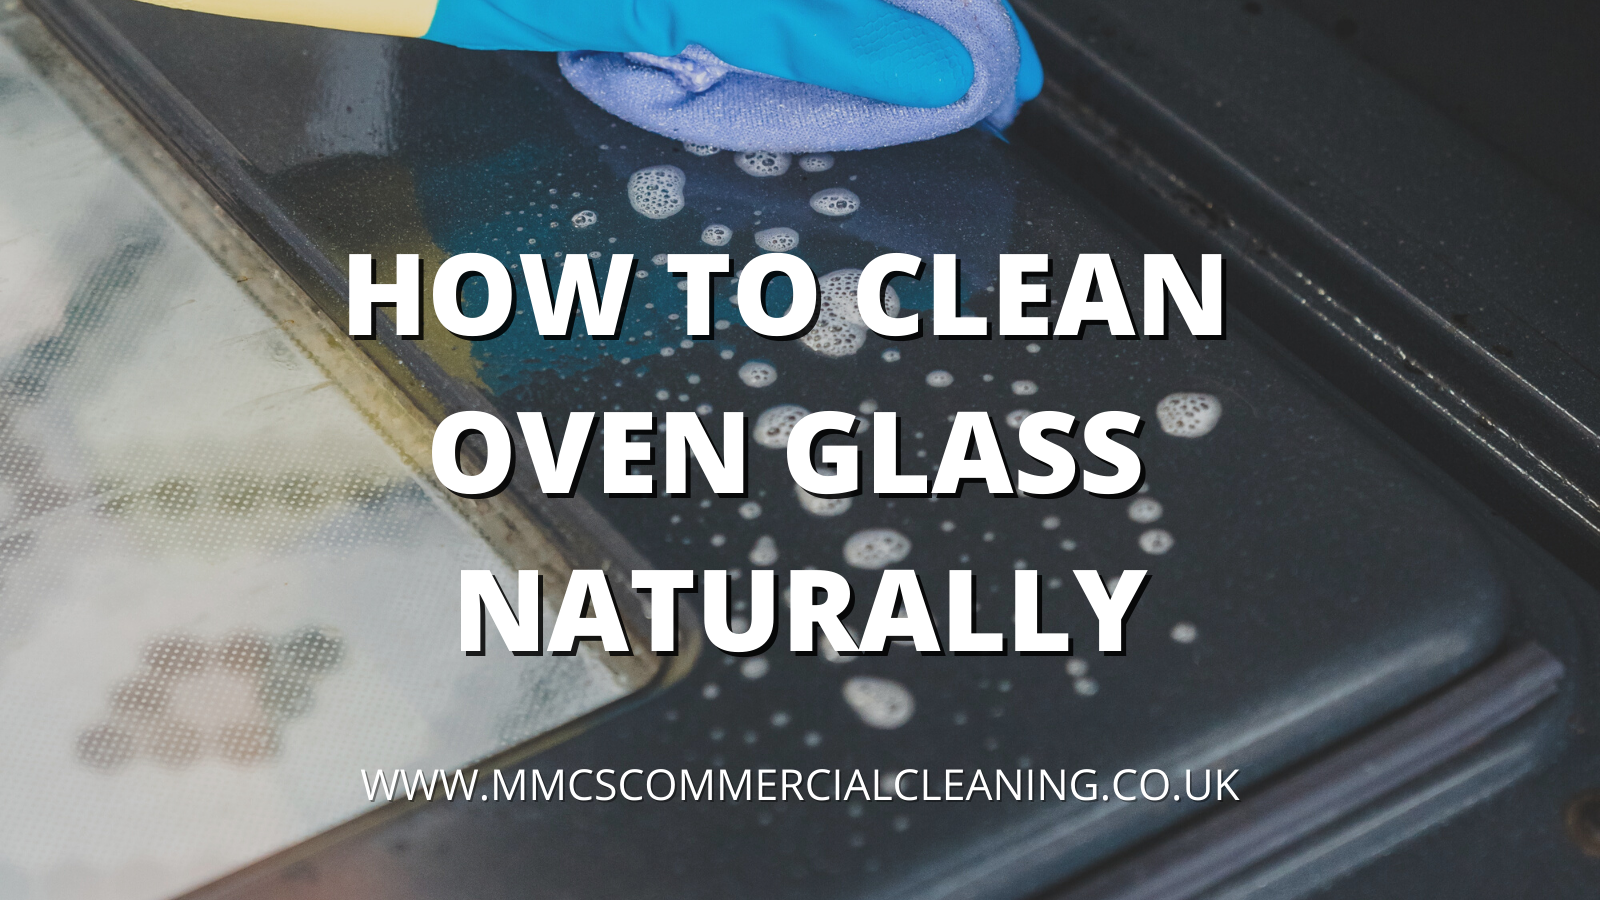
With regular use, oven door glass can collect a thick layer of food grime and grease that worsens over time. The high temperatures can bake this grease onto the oven glass and make it difficult to remove. While there are many chemical oven cleaners in store, there are effective ways to clean your oven naturally without leaving a lingering bleach smell. Discover how to clean oven glass using simple and powerful materials found in your cupboards in our useful guide below. MMCS is a family-owned cleaning company with over two decades of experience in making properties sparkle across the North East. We use environmentally-friendly materials to make your property sparkle around your schedule. From one-off deep cleans in Northumberland to a regular office clean ing service in Newcastle, get in touch to book your clean today. How to remove an oven door Some oven models allow for the door to be fully removed, allowing for easy access to the oven door for a deep clean. Always check your oven's manual before trying to remove the door (you can find many manuals online if you do not have a paper copy). If it is possible to remove your oven door, we recommend asking a someone to hold the door for you as you unlock the hinges. If this is not possible, place a soft towel on the floor below the oven and rest the door on your knee to prevent any breakages. How to clean oven glass naturally How to clean oven glass on the inside To clean the inside of your oven glass naturally you'll need baking powder, white vinegar, a sponge, a small bowl, soft microfiber cloths and a razor blade. First, sprinkle the a few tablespoons of baking soda into a bowl and slowly add warm water until a paste is formed. Use a sponge to gently apply the thick mixture onto the inside of the oven glass. Leave the mixture to sit for at least 30 minutes. After 30 minutes, spray your oven glass down with the white vinegar to cause a fizzing reaction. The white vinegar will also work to remove any bad odours. Use a damp soft cloth to gently wipe away the baking powder paste until fully removed. Use the razor blade to gently scrape off any remaining grease or grime, taking care to avoid scratching the surface. If a thin layer of grease or grime remains then repeat the steps above as necessary. Use a dry microfiber cloth to buff away any streaks in the oven glass. How to clean oven glass on the outside To clean oven glass on the outside you'll need a lemon, white vinegar and soft microfibre clothes. Start by placing an old towel below the oven and spraying white vinegar onto the oven door. Leave the white vinegar to soak on the glass for at least 10 minutes. The strong smell of vinegar will dissipate quickly but can be sped up by airing out the room by opening windows. Cut a lemon in half an use it to wipe over the white vinegar mixture, focusing on any splats of dirt or grime. Use a damp microfiber cloth to remove the vinegar and lemon juice by sweeping in downward strokes. Buff any streaks out with a dry cloth. While this guide focused on how to clean oven glass naturally, you can find more environmentally-friendly cleaning guides on our blog.

The build-up of limescale in your kettle can not only make the kettle water taste a little unpleasant, but also reduces your kettle's lifespan as it takes longer to heat up. If you've noticed limescale floating in your cup of tea then it's time to give your kettle a deep clean. Fortunately, there is an easy and natural method to remove limescale from your kettle that doesn't require a shop bought cleaner. Discover how to remove limescale from a kettle in our handy guide below. At MMCS Commercial we have over two decades of experience in providing cleaning services across the North East. From one-off deep cleans in Newcastle to regular holiday let cleaning in Northumberland, our trained staff have got you covered. We work flexibly around your schedule to make your property clean, safe and welcoming. Get in touch to book your service today. What is limescale? Limescale is a white, chalky substance that is often found in kettles. It is particularly visible on stainless steel. If you live in a hard water area, you're more likely to have difficulties with limescale due to the higher concentration of magnesium and calcium found in your water. How to remove limescale from a kettle For this method, you'll need either a whole lemon or half a cup of household white vinegar. Fill a kettle with equal parts of white vinegar and water, or with water and add slices of a lemon. Leave the kettle to soak for one hour. Boil the kettle three times and leave the water to cool. Once cooled, rinse the kettle thoroughly several times to remove any aftertaste of lemon or vinegar. Boil the kettle a final time to check for aftertaste in the water. Wipe the outside of the kettle with a soft damp cloth. If you still see limescale, add a teaspoon of baking soda to half a cup of vinegar and repeat the process above. The bubbling solution will help to shift any tough limescale. While this guide focused on how to remove limescale from a kettle, you can find a range of more environmentally-friendly cleaning tips on our blog .

Whether you're unpacking Christmas decorations from the loft or getting ready to put them away, we've put together some of our top tips for how to clean Christmas decorations to make them sparkle throughout the festive season. Discover how to clean Christmas decorations without using any harmful chemicals below. At MMCS, we have over twenty years of experience in commercial cleaning in the North East. From one-off deep cleans in Newcastle to a regular holiday let changeover service in Northumberland, our trained staff have got you covered. Get in touch to book your cleaning service today. How to clean Christmas decorations Top tip: Use a soft make up brush to gently remove any dust from Christmas ornaments before repacking Cleaning artificial Christmas trees If you have an artificial Christmas tree, we recommend giving it a quick clean before your put it up and before you put it away to keep on top of any dust and avoid a musty smell. Place your Christmas tree on top of a plastic bag on the floor and use a vacuum to gently hoover over the branches. We recommend using a smaller vacuum attachment to reduce the risk of sucking any tree branches up. Dip a soft cloth into a bowl of water and washing up liquid and gently wipe down to remove any remaining dust or glitter. Leave to air dry fully before wrapping and returning to its box. How to clean delicate Christmas ornaments Always check the proper cleaning instructions when reading how to clean Christmas decorations, as many ornaments recommend against using water or liquid when cleaning. Use a soft, dry microfibre cloth to wipe down every ornament before wrapping in packing paper. If possible, avoid using newspaper to protect ornaments as the acid and ink in the paper can leak on to older ornaments, particularly if they are a light colour. By storing the ornaments correctly, you will prevent the build-up of dust and reduce the need for cleaning and wiping down Christmas ornaments the following year. How to clean Christmas stockings Over time, Christmas stockings can gather particles of dust, dirt and debris that lead to musky smells. Fortunately, most Christmas stockings can easily be washed using a little warm water. Mix a few drops of washing up liquid into a large bowl and add warm water and a few tablespoons of white vinegar. The white vinegar will act as a natural deodoriser and remove any odours from the Christmas stockings. Place the stockings into the bowl and leave to soak for five minutes. If necessary, use a soft brush to gently remove any coloured stains or marks. Leave the Christmas stockings hanging up to dry naturally and avoid wringing out as this can ruin the shape of the stocking. Top tip: use a lint roller to gently remove any dust or hairs from fabric Christmas decorations While this festive article focused on how to clean Christmas decorations, you can find a wealth of environmentally-friendly cleaning guides on our blog .
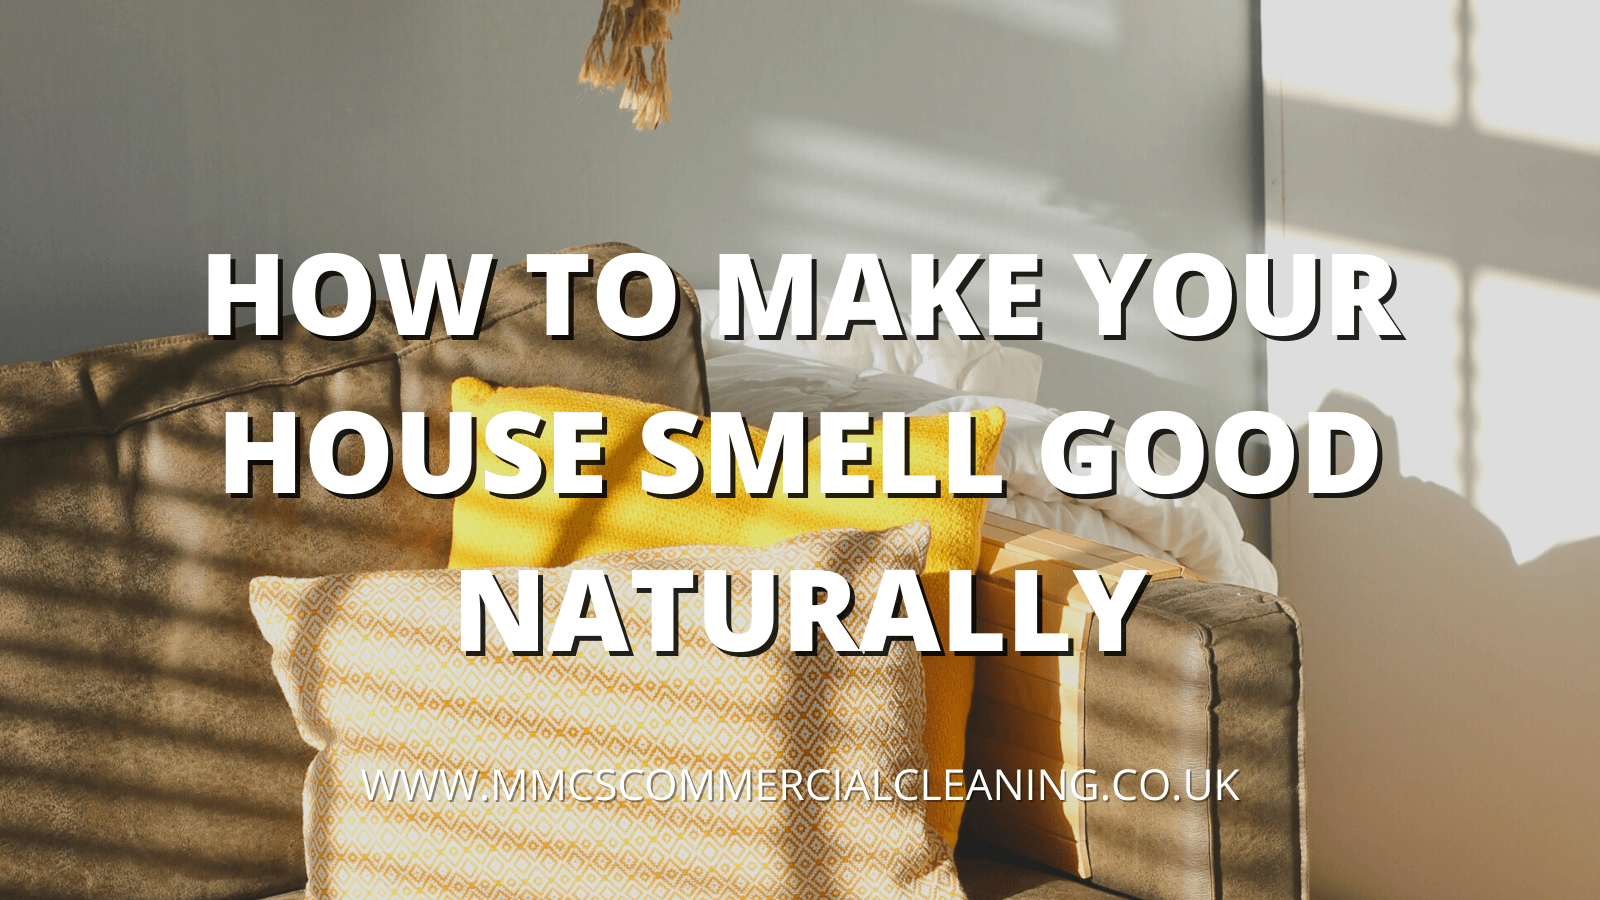
A lingering musty smell in your home can be off putting for guests. But rather than reaching for shop-bought air fresheners that contain chemicals, there is a range of ways to make your home smell good naturally. We've put together some of our favourite ways to make your smell good without costing the bank. Discover how to make your home smell good naturally with our top tips below. At MMCS, we have over twenty years of experience in cleaning properties across the North East. From regular office cleans to an thorough holiday let changeover service , we use environmentally-friendly cleaning products to make your property sparkle. Get in touch here to book a clean around your schedule. How to make your home smell good naturally Top tip: Houseplants are an effective way of revitalising the air in your home. As well as adding greenery to a space, they can help keep bad odours at bay. Deodorise carpets Dust, dirt and grime can become trapped in carpet fibres and emit odours over time. One effective way to tackle these smells is by making a DIY carpet deodoriser. You'll need an empty spice shaker, baking soda, and an essential oil of your choice. Fill the shaker halfway with baking soda and add 8 drops of essential oil before mixing well. Fill with the rest of the baking soda and add another 8 drops on the top. Sprinkle the mixture liberally on the carpet and leave to work for at least 30 minutes. Vacuum the residue and enjoy the natural scent. Top tip: Fill a small jar with fresh coffee beans and place a tea light in the centre. When lit, the flame will warm the coffee beans and create a pleasant smell. Clean soft surfaces Similar to carpets, soft fabrics such as blankets, cushions and bed linen can collect dirt and emit odours. Always check the care label before machine washing. For items that cannot be machine washed, or are too large, sprinkle them liberally with baking powder and leave to work for at least an hour before vacuuming. This will act as a natural deodoriser and remove unpleasant smells. Natural room diffuser A natural room diffuser is a great way to make your home smell of your favourite scent without any harsh chemicals. To make your own cheaply, simply trim bamboo sticks by making them no more than twice the height of a glass jar, fill the jar halfway with water and add your favourite essential oils. Start by adding a few drops and add more to intensify the smell to your preference. While this article is filled with ways to make your home smell good naturally, you can find a range of environmentally-friendly cleaning tips on our blog .
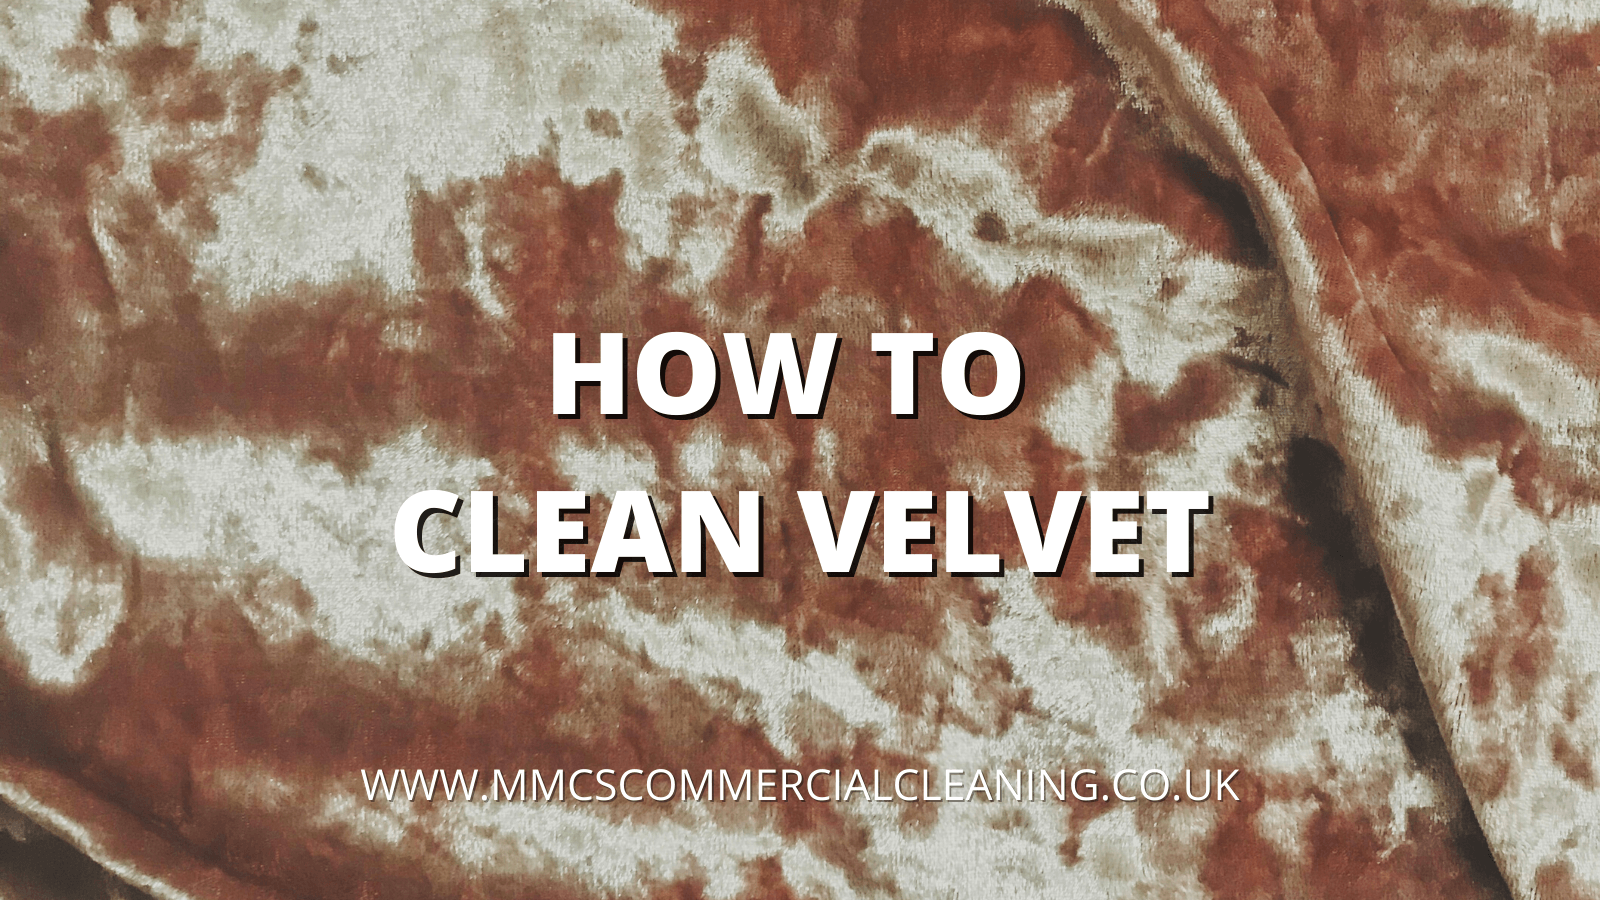
Velvet is a popular, rich-coloured fabric often used for upholstery. While cleaning velvet doesn't require specific products, the soft fabric can be difficult to clean and requires patience. Discover how to clean velvet without crushing its fibres with our simple guide below. At MMCS we have over two decades of experience in cleaning properties across the North East. Our trained staff use environmentally-friendly cleaning materials to make your property sparkle around your schedule. From one-off deep cleans to regular office cleans , get in touch to book your service today. How often should you clean velvet? If you have pets or children, you may need to clean your velvet upholstery more frequently. It is also important to treat any velvet stains immediately with a white cloth to prevent damage to the velvet piece. We recommend using a vacuum with a small hoover attachment weekly on your velvet to remove any dust and dirt build up from the fibres. View our steps below for deeper cleans to make the velvet look new again. How to clean velvet Top tip: Always check the label and test any new cleaning methods on a hidden area first Brush Before cleaning the velvet, it's important to remove the top layer of dust and dirt. Sweep a fabric brush in one direction to remove pile from the velvet fibres. Spot clean For light coloured velvet, pour a little lemon juice into a bowl and add baking soda to create a fizzing reaction. Use a soft white cloth to apply the solution to the stain and leave to work for five minutes before wiping. Avoid spreading the solution to any areas other than the stain. For dark coloured velvet, create a soapy solution of clear washing up liquid and warm water before applying to the stain. Use a soft white cloth to blot the stain at the stain until removed. Repeat the steps above as required. Dry Leave the velvet to air dry, or use a hairdryer on a cool setting to speed up the process. Once dry, brush the velvet with a fabric brush again to make the surface look smooth again. This article focused on how to clean velvet but you can find more environmentally-friendly cleaning guides on our blog.