Cleaning and Disinfecting Office Chairs
12 May 2021
With offices re-opening and the average worker spending 35 hours a week at their desk, it is important to keep on top of cleaning and disinfecting to keep staff feeling safe and comfortable.
A clean working environment can reduce stress, minimise the spread of harmful bacteria and germs and improve staff productivity so office chairs should not be left out of the cleaning schedule.
Read on to find out how you can clean and disinfect your office chairs depending on their material.
How to Clean and Disinfect Plastic Office Chairs
Plastic office chairs are the easiest types of chairs to clean and disinfect.
Encourage employees to minimise stains by cleaning up any mess with a damp cloth or towel straight away.
Avoid using rough materials and instead opt for a soft, fabric cloth with warm water to remove any grease or dust build-up.
Once the chairs have been wiped and air dried, use a gentle antibacterial cleaner all over to fully disinfect it.
How to Clean and Disinfect Leather Office Chairs
Leather chairs tend to have more crevices which can build-up dirt over time. Start by removing any dirt or debris by using a vacuum cleaner.
Use a microfibre cloth with warm water and a drop of dish soap to gently remove any stains or spillages. If you feel uncertain about using a dish soap, consider testing it on a hidden area, such as underneath the chair, first.
Use a second, dry microfibre cloth to fully dry the chair.
For an added conditioner treatment, you could use a drop of baby oil to make your leather chair look new again - make sure to spot test it in a hidden area first.
Once the chair has been cleaned and is fully dry, you can disinfect it by using a mild antibacterial spray (for fake leather) by spraying it onto a soft, dry cloth and buffing the chair gently, or use a cloth and mild soap to gently wash the chair.
Make sure to always dampen the cloth rather than spraying anything directly onto the chair.
How to Clean and Disinfect Fabric Office Chairs
Remove any debris on your fabric chair using a vacuum.
Prior to applying any cleaning solutions to your fabric chair, always check the label.
“W”
means that only water based products can be used.
“S”
means dry clean only.
“X”
means vacuum only.
If safe to do so, dip a soft cloth into warm, soapy water and wring out. Gently wipe down the fabric chair with the cloth to remove dirt.
Never apply a disinfectant solution directly to the chair.
Airburst is the ultimate disinfectant system for your office. Simply switch it on near desks and chairs and leave the natural disinfectant solution (HOCl) to safely disinfect upholstery and deodorise surrounding air.
Safe for people, pets and the environment, find out more
about the ultimate disinfectant system here.

Water stains on wood can look unsightly and spoil the finish of furniture but fortunately those water rings don't have to stay there forever. Water stains show up as light coloured rings or clouds and can be lightened and removed easily with some natural materials. Discover how to remove water stains from wood without paying for expensive wood cleaners with our top tips below. At MMCS Commercial we have over two decades of experience in providing cleaning services across the North East. From one-off deep cleans in Newcastle to regular holiday let cleaning in Northumberland , our trained staff have got you covered. We work flexibly around your schedule to make your property clean, safe and welcoming. Get in touch to book your clean today How to remove water stains from wood How to remove water stains from wood with an iron You can remove newer water stains from wood with the help of an iron, but this method may not be as effective for stains that have present for more than a few days. Start by wiping the wood with a soft dry cloth to remove any dirt. Lay a soft t-shirt over the water stain and gently iron in circular motions for at least thirty seconds. The heat from the iron will help the moisture from the water spot to evaporate. Repeat the process until the stain has been fully lifted. How to remove water stains from wood with baking soda Baking soda is a natural, cheap and effective way to remove moisture that is trapped in water stains on wood. Mix a tablespoon of baking soda with water until a paste is formed. Apply the paste to the water stain with a soft cloth and rub for a few minutes. Always follow the grain of the wood and avoid applying the paste to areas around the stain. Leave the paste to work for five minutes and remove using a dry cloth. Apply a little oil or furniture wax to re-seal the affected area. How to remove water stains from wood with vinegar Mix equal parts of white vinegar and olive oil into a bowl and apply the mixture to the stain using a dry cloth. The vinegar will work to lighten the stain while the olive oil will help to restore shine in the wood. Wipe in the direction of the wood grain until the stain has been removed. Finish by wiping the mixture away with a clean cloth. While this guide focused on how to remove water stains from wood, you can find a range of more environmentally-friendly cleaning tips and guides on our blog .
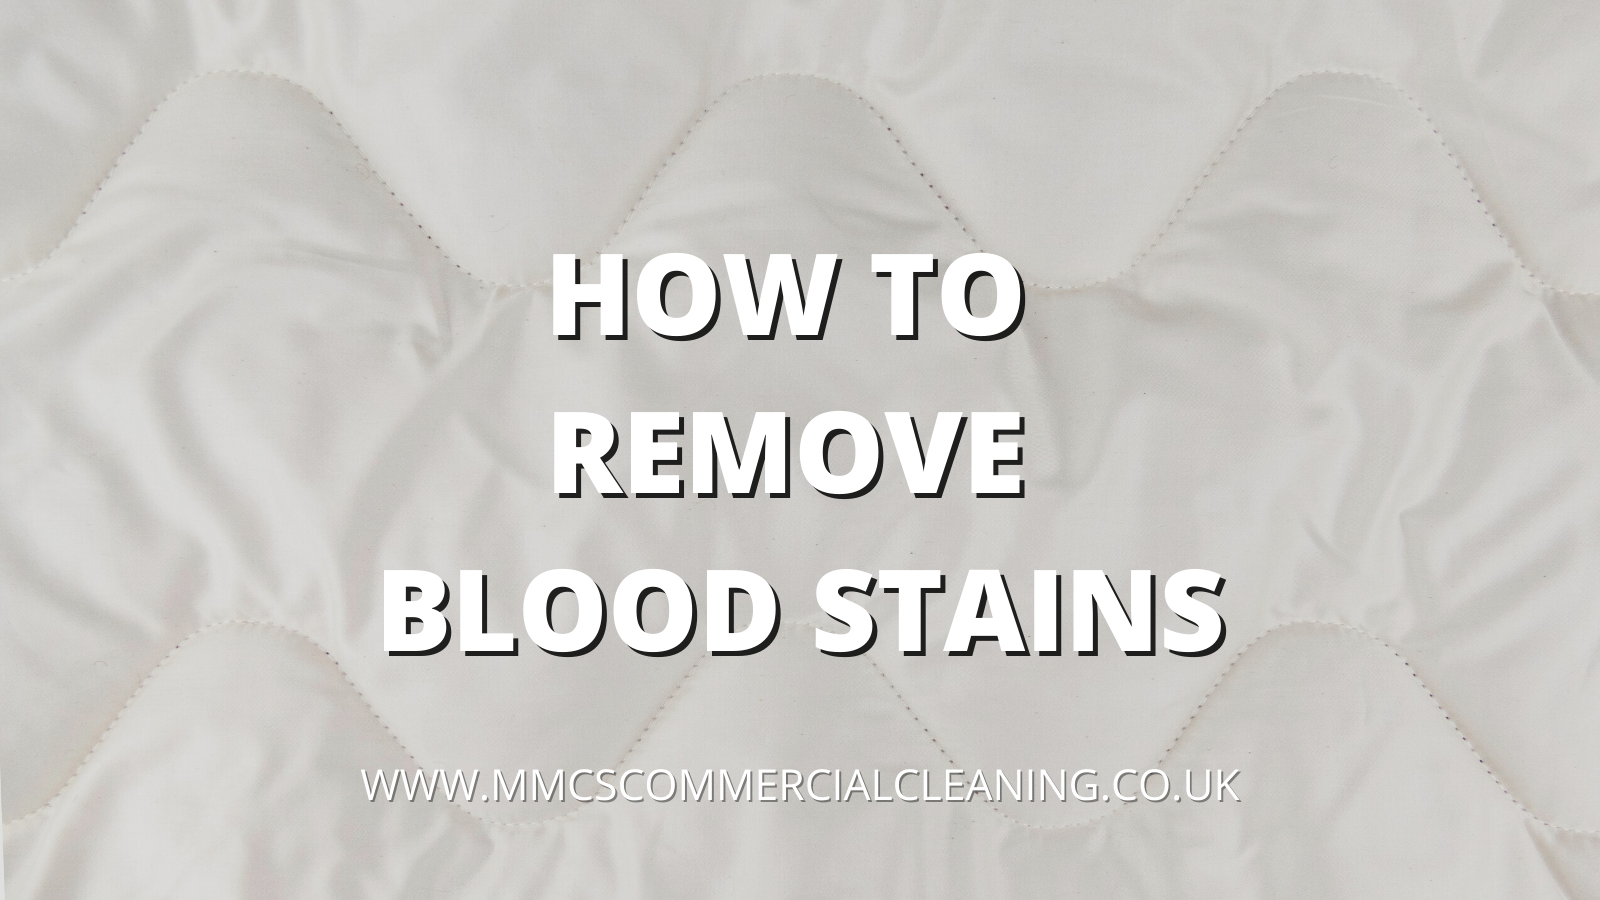
Blood stains can happen anywhere and at any time and the stains can be difficult to shift if left untreated for a long period of time. Fortunately, there are a range of cheap ways to tackle even the toughest blood stains. Discover how to remove blood stains naturally with our simple and effective methods below. At MMCS Cleaning Service, we have over two decades of experience in cleaning properties across the North East. Our trained staff use environmentally-friendly cleaning materials to make your property sparkle around your schedule. From one-off deep cleans in Newcastle to a regular holiday let changeover service in Northumberland , get in touch to book your service today. How to remove blood stains Top tip: always check the manufacturing label for guidance and avoid using warm or hot water as this can set the stain. How to remove fresh blood stains Acting fast when treating blood stains will make the stain easier to remove. Rinse the stain in cold water immediately to try and remove blood from the fibres. If treating a lighter material, use distilled white vinegar to life the stain. Spray the affected area with the vinegar and leave to soak for at least 15 minutes. Use a soft cloth to blot the vinegar away and place the item in the washing machine on a cold cycle. For darker materials, mix a few tablespoons of water with baking soda until a paste is created. Place the paste on the affected area and leave for at least 20 minutes. Scrub the paste mixture away using a soft brush (such as an old toothbrush) and wash on a cool cycle. How to remove dried blood stains Dried blood stains can be tougher to remove and may require more patience and elbow grease. Start by removing any solid deposits by scraping them away with a blunt knife. Soak the item in a bowl of cold water, laundry detergent and a few tablespoons of salt for at least one hour. Salt is an effective way to break down blood stains without using any harmful chemicals. Then, remove excess water from the fabric and apply more detergent to the affected area. Place the item in the washing machine on a cool cycle. If the stain is still visible, repeat the process above and create a thick paste using cornstarch and water. Apply the paste on the blood stain and leave to dry before scrubbing away with a soft brush. While this article focused on how to remove blood stains, you can find more environmentally-friendly cleaning guides on our blog.
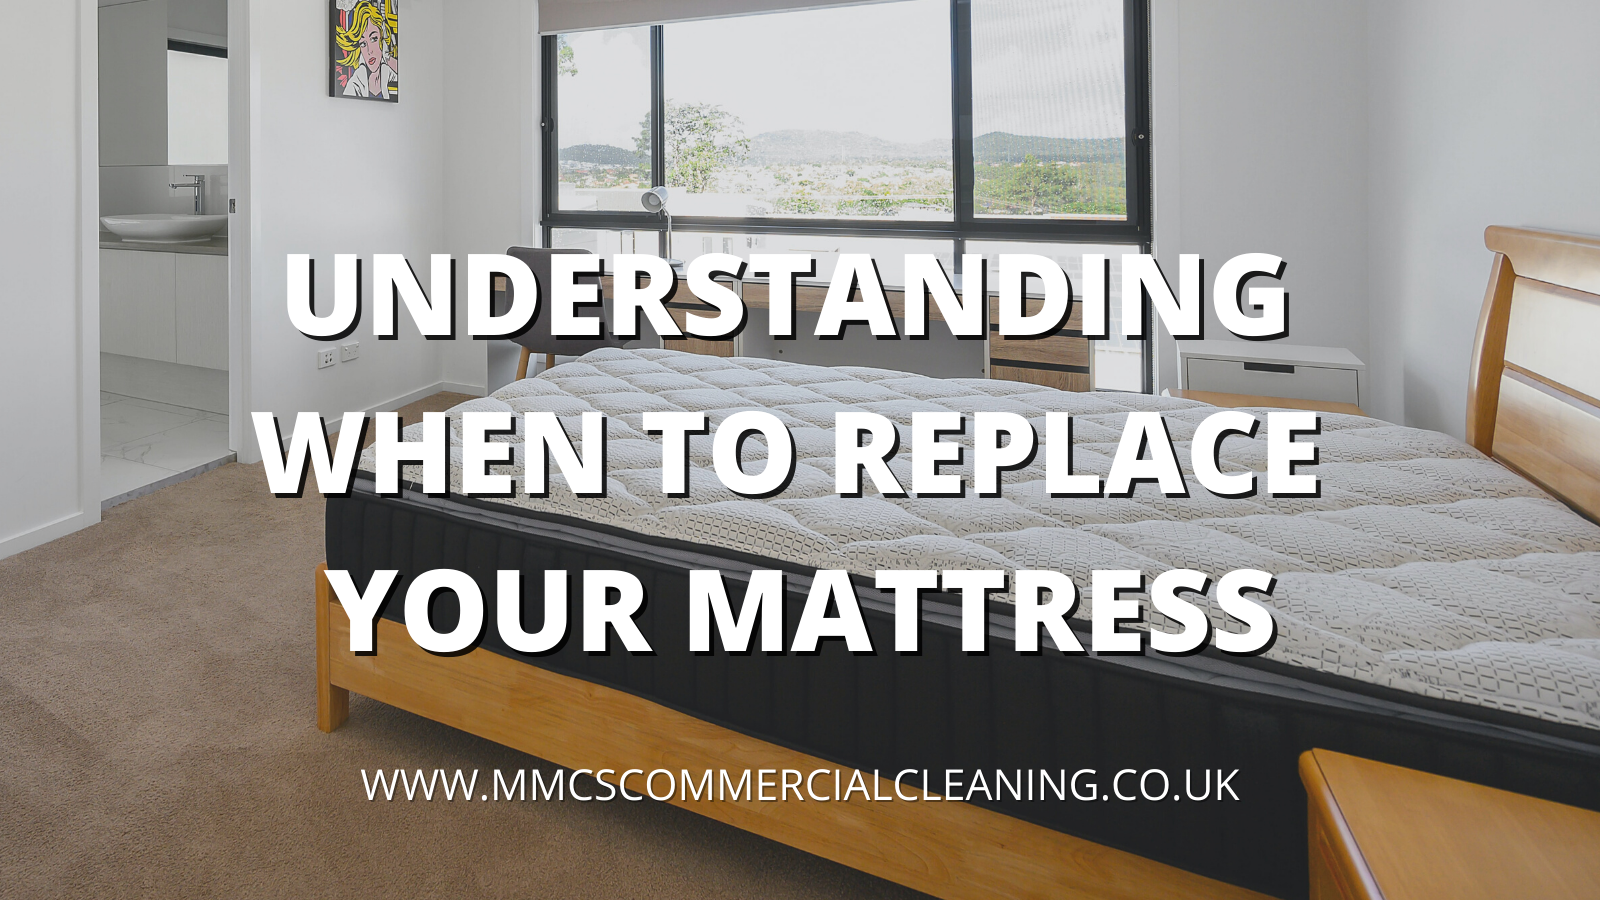
Sleep is one of the most important aspects of our health and one of the biggest factors to getting a good night's sleep is the comfort of a mattress. But how often should you replace your mattress? We've put together some key indicators that show that it's time to replace your bedding. Read our top tips for when it's time to replace a mattress below. At MMCS we have over two decades of experience in cleaning properties across the North East. Our trained staff use environmentally-friendly cleaning materials to make your property sparkle around your schedule. From one-off deep cleans to a regular holiday let changeover service in Northumberland, get in touch to book your service today. Understanding when to replace a mattress Noise Your mattress shouldn't make any loud noises, even if you toss and turn regularly in your sleep. If you start hearing loud sounds such as grinding metal or springs then it could mean that your mattress is not supporting you as well as it could be. As well as keeping you awake throughout the night, the moving springs can create an uneven surface which can later cause body aches and pains. If you notice that your mattress is making noises, it's often a sign that it needs to be replaced. Allergies Dust mites are a common household allergy. The build up of dust can cause allergic reactions such as sneezing, a dry mouth and throat and a runny nose. While regular vacuuming and deep cleaning of the mattress can help to ease this , older mattresses tend to store more dust and could be the root issue for allergy symptoms. If you don't notice any improvement after deep cleaning and vacuuming your mattress, it could be a sign that it needs to be replaced. Aches and pains If you find yourself regularly waking up in pain or stiffness in areas such as your hip, neck, back and shoulders then it could be a sign that your mattress is no longer supporting you. Over time, older mattresses tend to drop and sag in places which reduces support that can impact the alignment of your spine while you sleep. This article focused on understanding when to replace a mattress but you can find a range of environmentally-friendly cleaning guides on our blog.